Getting Started with AI Agents
Overview of WhatChimp's AI Agent — what it can do, how to set it up, and links to detailed guides for each step.
Updated 10 February 2026
Video: https://www.youtube.com/watch?v=pQ2mAtxLwIk
WhatChimp's AI Agent lets you automate customer conversations on WhatsApp, Instagram, Facebook, and your website. The AI is trained on your business data — FAQs, product details, pricing — so it responds accurately to common inquiries 24/7 without human intervention.
What the AI Agent Can Do
- Answer common questions — pricing, service details, business hours, product information
- Remember conversation context — the AI tracks the conversation so customers don't have to repeat themselves
- Hand off to humans — when the AI can't help, it routes the conversation to a human agent
- Detect customer intent — recognize what the customer wants and trigger specific actions like assigning to a department or starting a chatbot flow
How It Works
Setting up your AI Agent involves four steps:
- Add your AI API key — connect OpenAI or DeepSeek so WhatChimp can use the AI model
- Train the AI — provide your business information through FAQs, URLs, or file uploads
- Enable the AI Agent — activate it on your WhatsApp number (or other channels)
- Fine-tune — restrict certain topics, set business hours, configure intent detection
Step 1: Set Up Your AI API Key
Go to Settings & Integration in the left sidebar, then scroll to the AI API Integration section. Here you can:
- Choose between OpenAI and DeepSeek
- Paste your API key
- Select the AI model (GPT-4o Mini is recommended for most use cases — it's affordable yet capable)
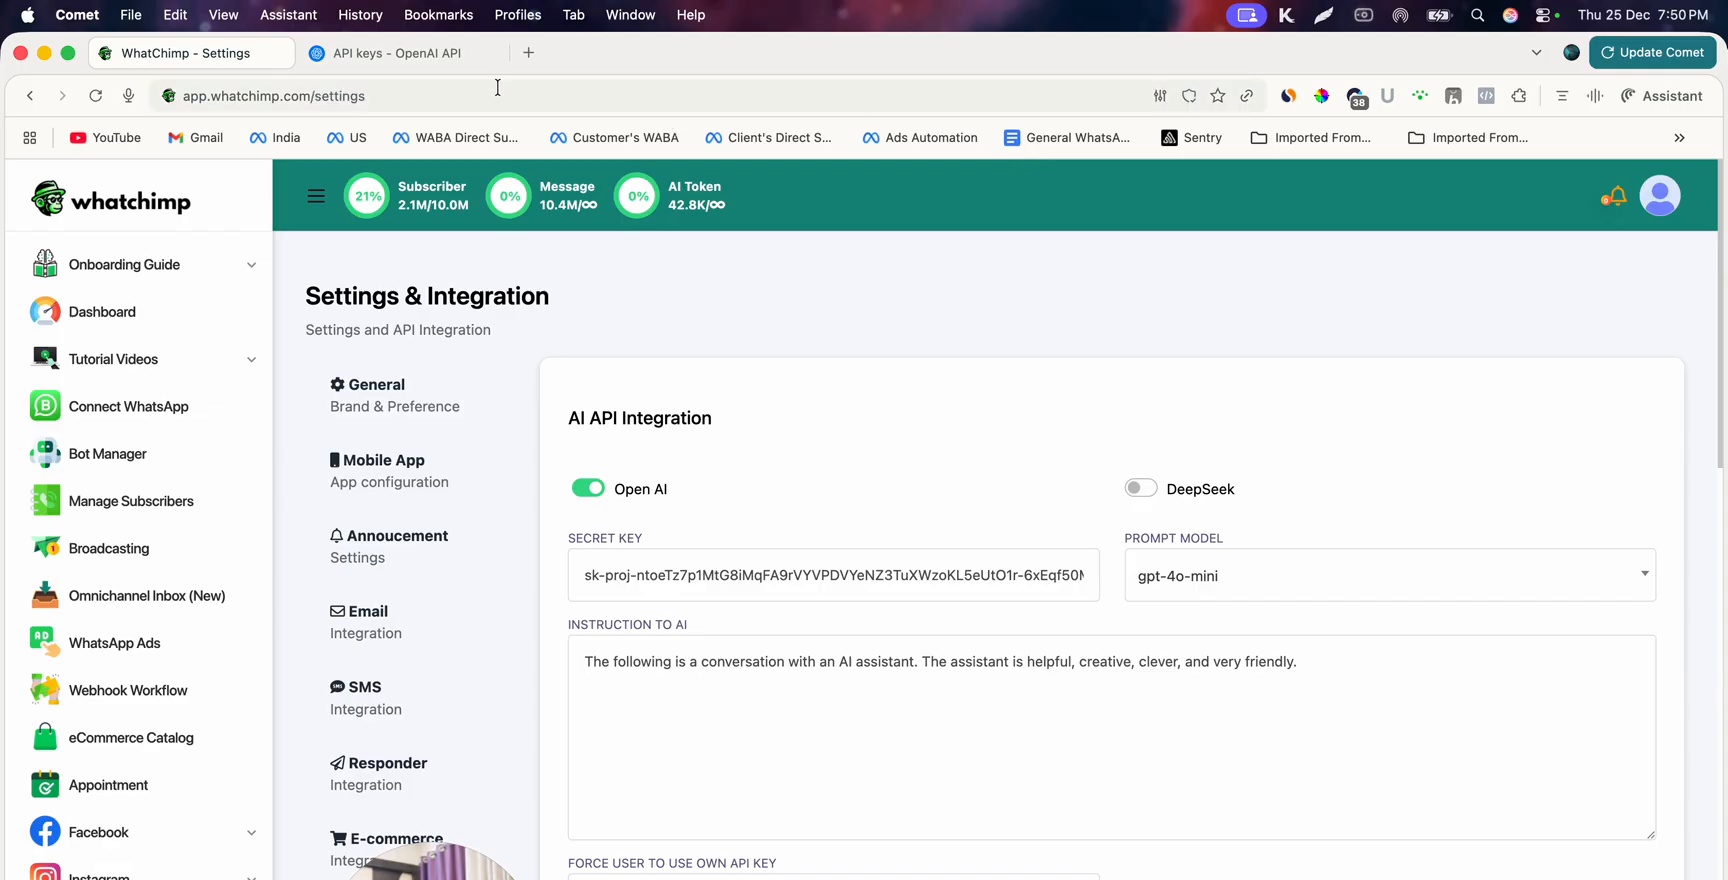
To get your API key, go to platform.openai.com, navigate to Settings > API Keys, and create a new secret key.
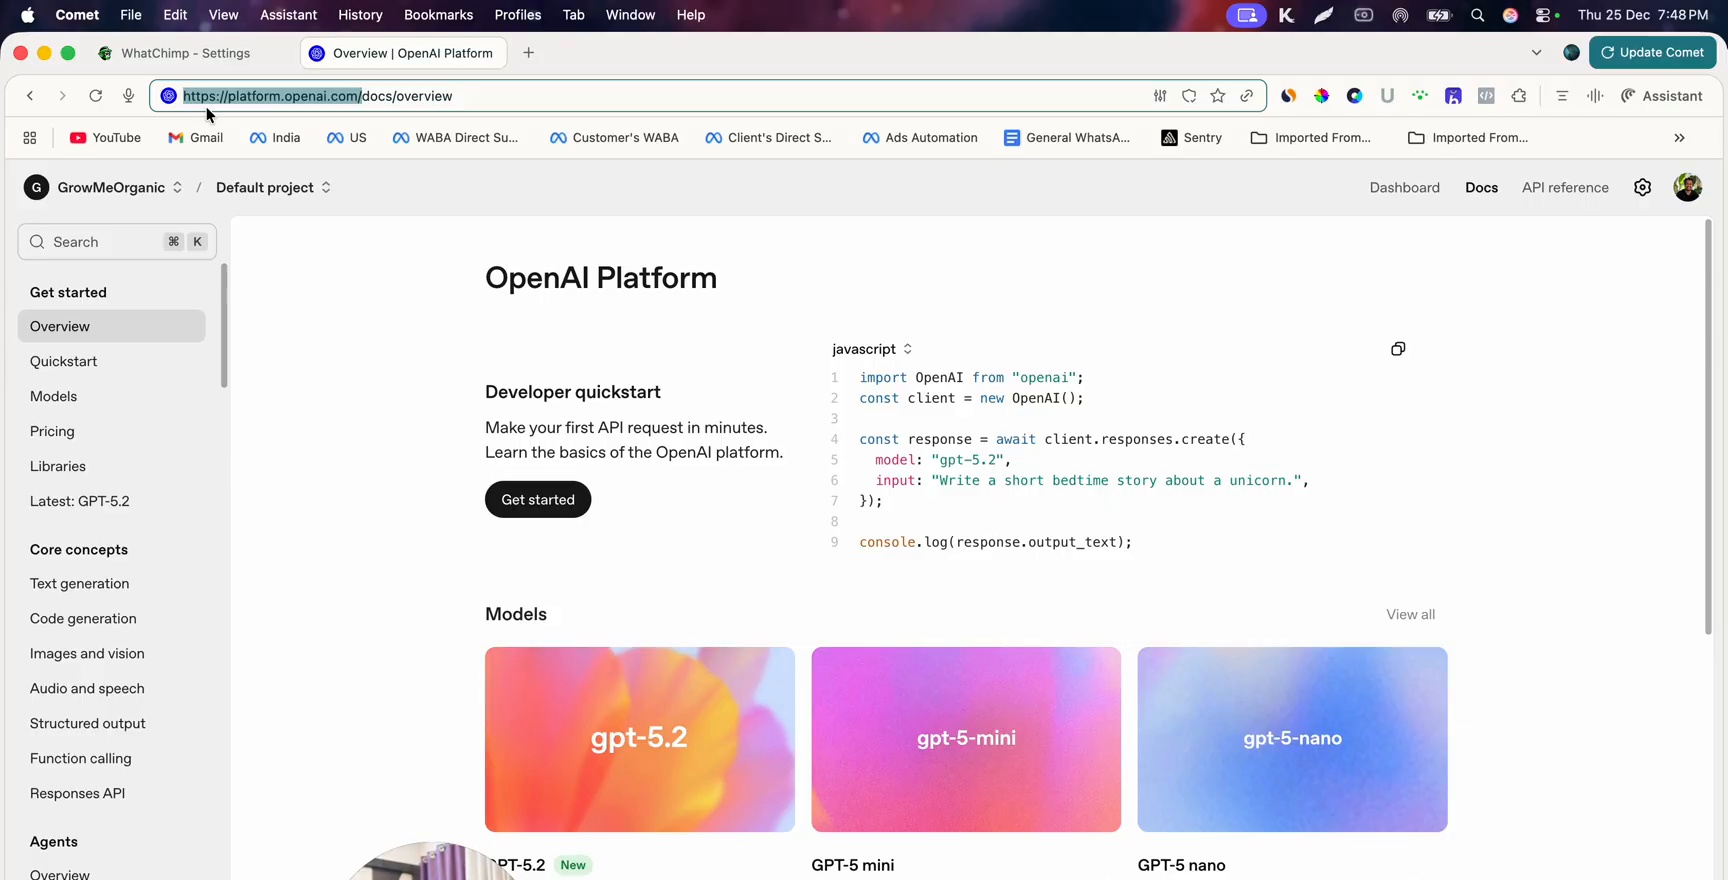 OpenAI Platform showing available models including GPT-5.2, GPT-6-mini, and GPT-6-nano
Important: Keep your API key private. Never share it publicly. You'll also need to add a credit card on platform.openai.com for the API to work.
For detailed steps, see Add Your OpenAI API Key.
Step 2: Train the AI
Go to Settings & Integration > AI Training Campaign to create training data. You can train the AI using:
- FAQs — add question-answer pairs about your business
- URLs — point to your website pages and the AI learns from them
- File uploads — upload documents with your business information
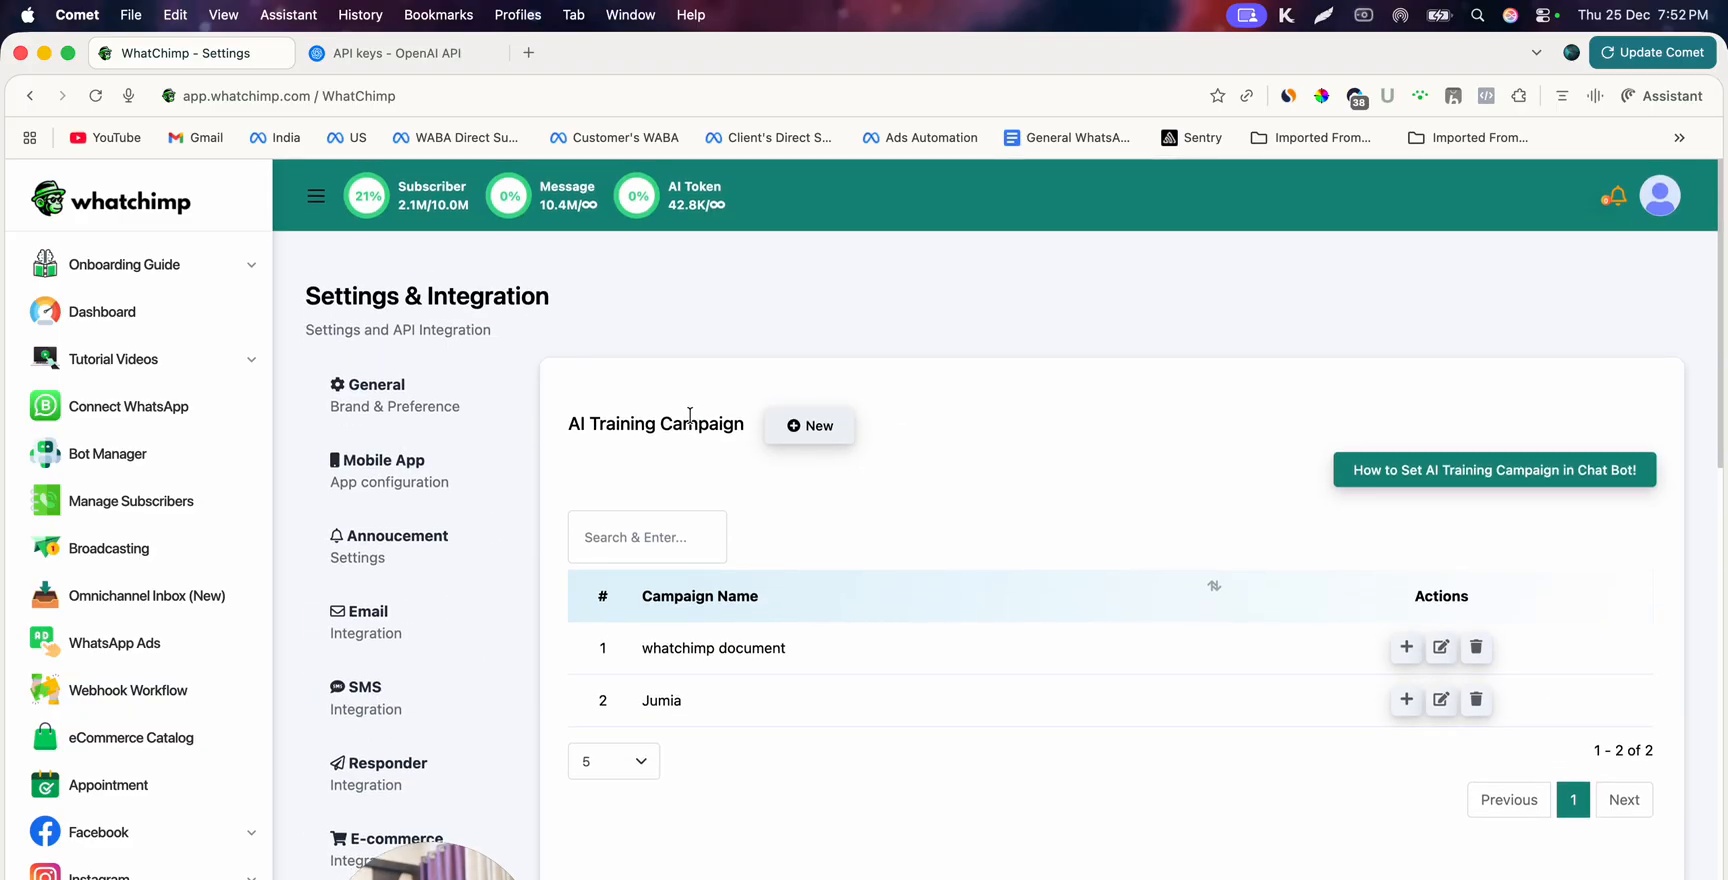 AI Training Campaign page showing existing campaigns with a Create New button
For detailed steps, see How to Train Your AI Chatbot.
Step 3: Test Your Setup
Before enabling the AI Agent, verify your API key works. Go to the Omnichannel Inbox, type a message, and click Rewrite with AI. If the AI rewrites your message, your setup is working correctly.
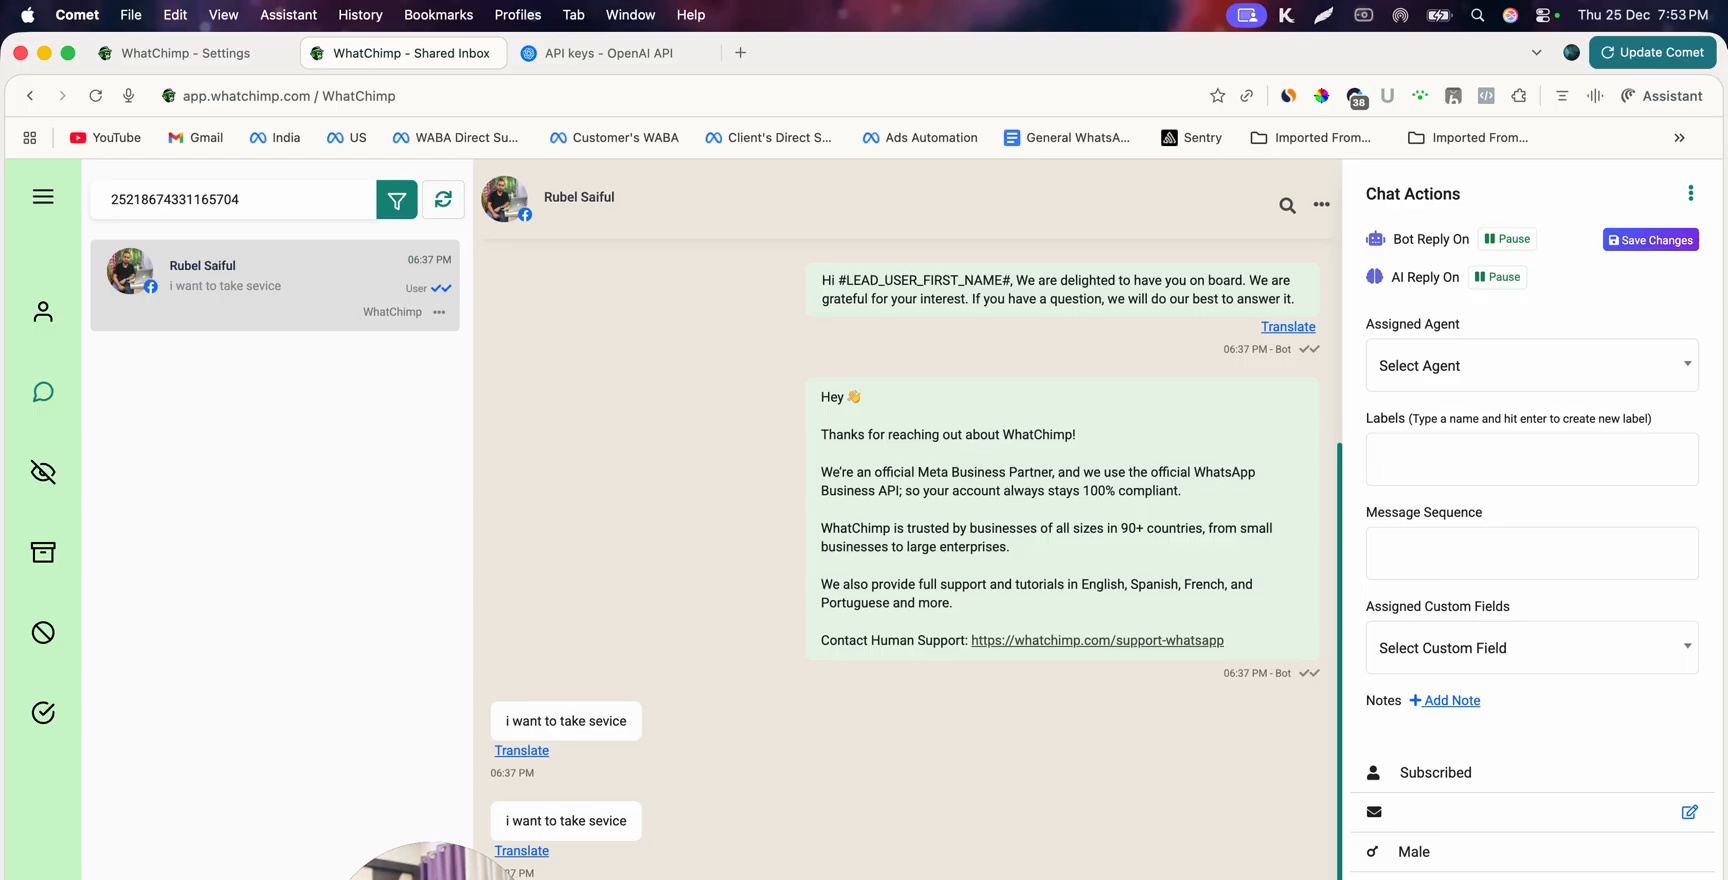 Omnichannel Inbox showing a conversation with the Rewrite with AI feature
Next Steps
Once your API key and training data are set up:
- Enable the AI Agent on your WhatsApp number
- Disable AI during business hours — let humans handle conversations during the day
- Restrict AI on specific keywords — prevent AI from answering certain topics
- Set up intent detection — route conversations based on customer intent
- Connect with N8N for advanced AI agents — build complex AI workflows with external tools