Apne Meta Business Manager ko verify kaise karein
Step-by-step guide apne Meta Business Manager ko verify karne ke liye aur WhatsApp Business API access pane ke liye
Updated 16 June 2026
Apne Meta Business Manager ko verify karna bahut zaroori hai WhatsApp campaigns ki poori potential unlock karne ke liye. Ek baar verify hone ke baad, aap zyada customers ko bina kisi restrictions ke messages bhej sakte hain. Yeh guide aapko apne account ko verify karne ke poore process mein madad karegi, jisse WhatChimp ke saath smooth WhatsApp marketing operations ensure honge.
Apne WhatsApp Business account ko WhatChimp se link karein
Verification process shuru karne se pehle, ensure karein ki aapka WhatsApp Business account WhatChimp se linked hai. Is article ko follow karein apna number WhatChimp se connect karne ke liye.
Business verification start karein
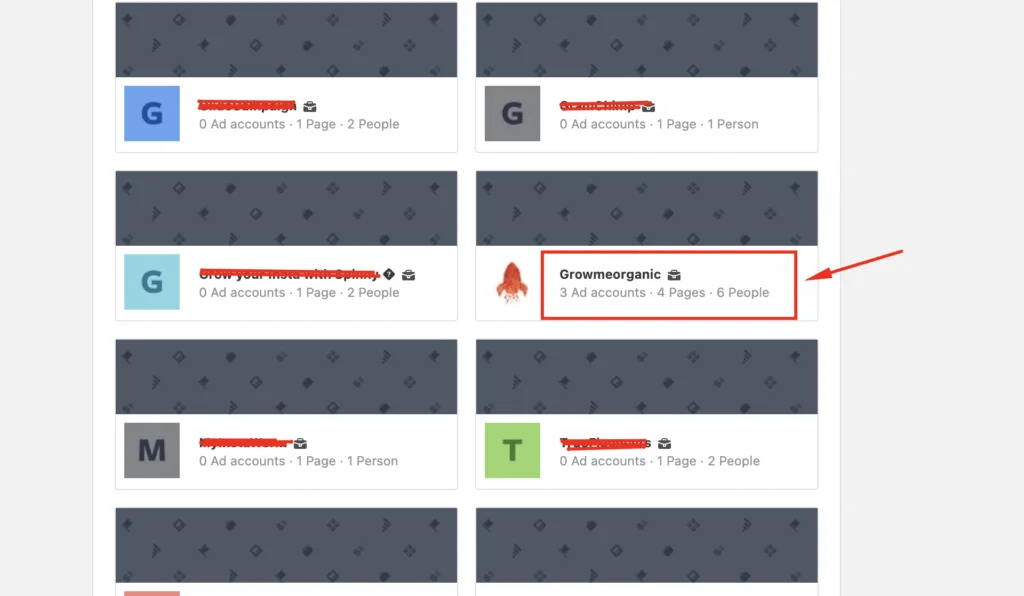
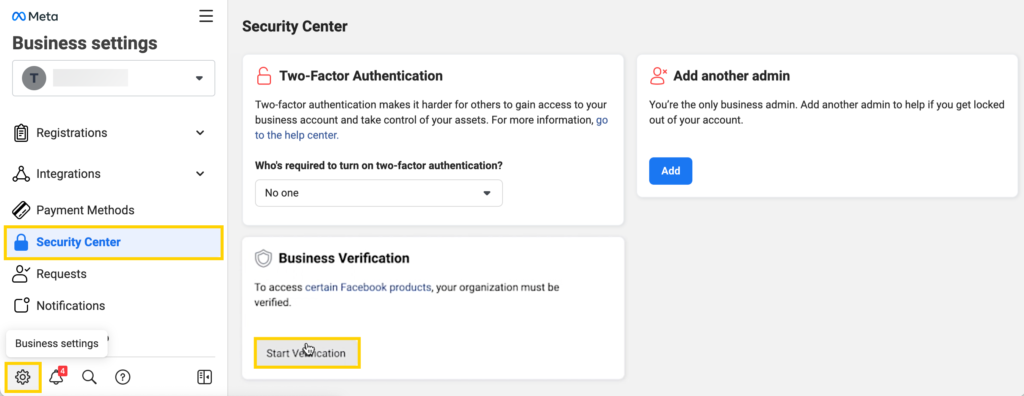
Security Center par jaayein
Apna business account select karein — Woh business account choose karein jo aapne WhatsApp ke liye set up kiya hai. Yeh aapko appropriate account settings par le jayega.
Verification start karein — Business Verification section mein, Start Verification button par click karein.
Business details provide karein
Apna country select karein — Woh country choose karein jahan aapka business registered hai.

Business information add karein — Apne business ka legal name, address, phone number, aur website enter karein. Ensure karein ki yeh details aapke supporting documents mein di gayi information se match karti hain.

Contact method choose karein — Select karein ki Meta aapse verification ke liye kaise contact karegi. Aap email, SMS, phone call, ya domain verification mein se choose kar sakte hain.

Important: Verification ke liye aisa phone number ya email address use karein jis tak aapki immediate access ho.
Supporting documents submit karein
Documents upload karein — Zaroori documents provide karein, jaise aapka business license, certificate of incorporation, ya business bank account statement.
| Acceptable documents | Unacceptable documents |
|---|---|
| Certificate of Formation ya Incorporation (example: GST Certificate) | Invoices |
| Articles of Incorporation | Purchase orders |
| Business License aur Permits | Company ke liye self-filled applications |
| Business tax registration | Aapke ya aapki company dwara file kiye gaye tax returns |
| Business Bank Account Statements | Personal bank statements |
| Udyog Aadar (UID) | Website print |
| Udyam Certificate | Doosre documents jaise company flyers, letterheads, etc. |
| Business Credit Reports | |
| Utility Bills | |
| Permanent Account Number Card (PAN) | |
| Shop establishment certificate |
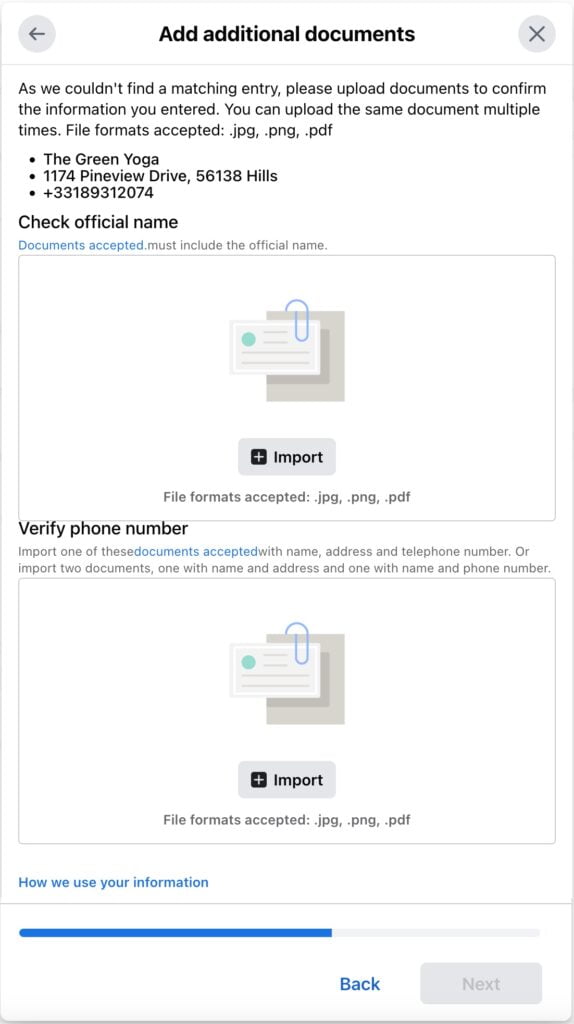
Contact details confirm karein — Double-check karein ki aapki contact information sahi hai.
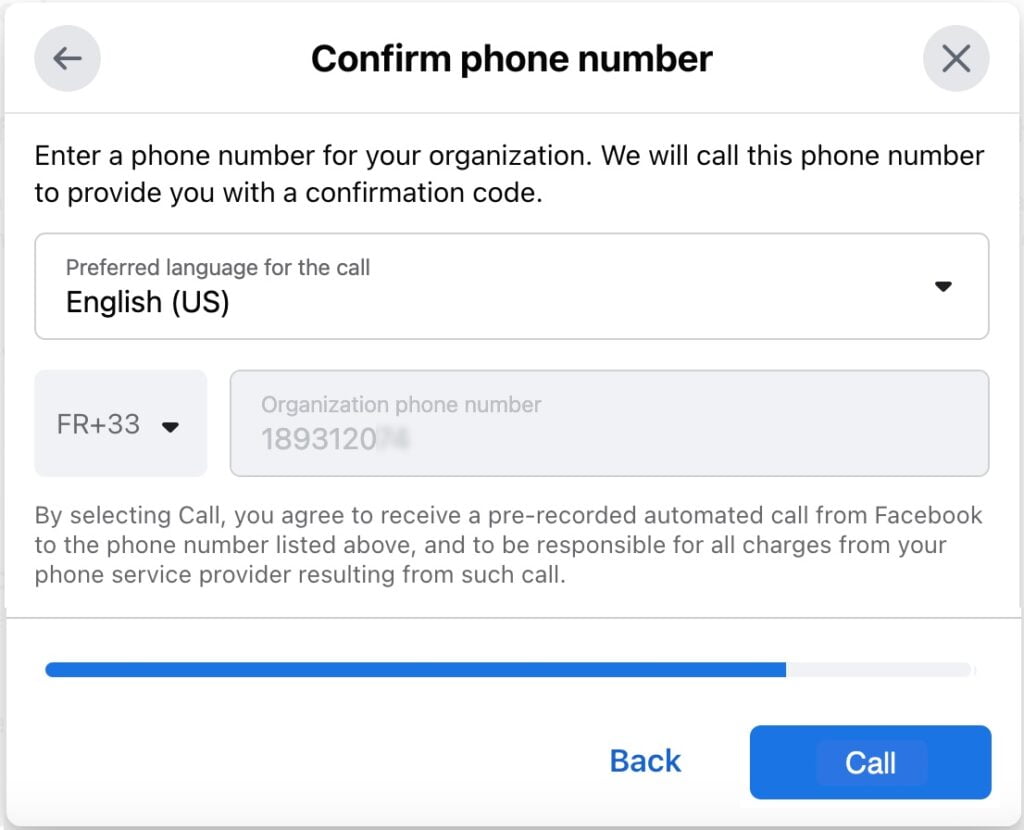
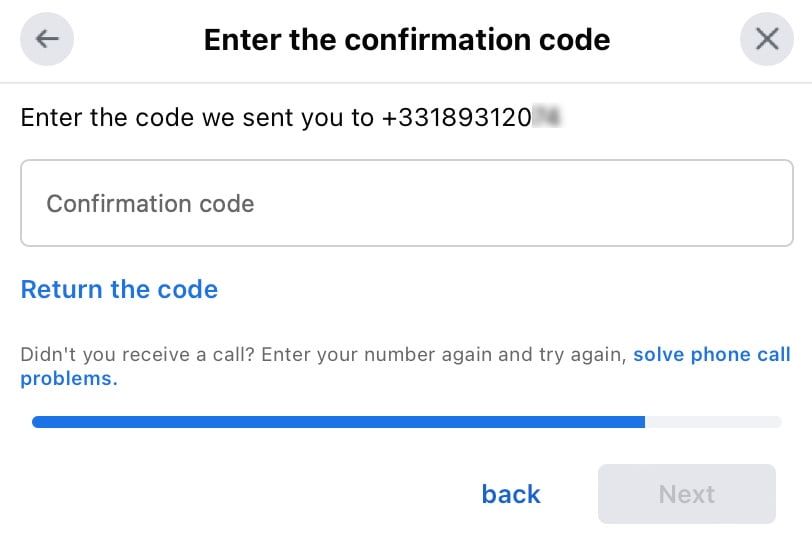
Verification code enter karein — Jab aapko apne selected method se code mil jaaye, use enter karein verification process complete karne ke liye.
Agar aapke documents supported language mein nahi hain, toh ensure karein ki aap ek certified agency se official English translation provide karein.
Meta ki approval ka intezaar karein
Meta aapki submission ko review karegi, aur jab aapka account verify ho jayega tab aapko ek confirmation email milegi. Aap apni verification ki status Security Center mein track kar sakte hain. Yeh process 30 days tak lag sakta hai.
Verification ke baad
Ek baar aapka Meta Business Manager verify ho jaaye, aap apne campaigns start karne ke liye ready hain. Yaad rakhein apni messaging limit check karna, jo ab aapke phone number ki reputation par based hai verification status ke bajaye. Messaging limits ke baare mein yahan aur jaanein.
Tip: Agar aapki verification reject ho jaati hai, toh chinta mat karein. Is guide ko follow karein issues fix karne ke liye aur verification ke liye dobara submit karein.
Ab aap bilkul ready hain WhatChimp ke saath apna pehla WhatsApp campaign create aur launch karne ke liye!