Webhook Automation Settings
Delays, conditional rules aur post-webhook actions jaise conversations assign karna aur labels add karna
Updated 10 February 2026
Webhook workflow banate waqt, aap automation settings configure kar sakte hain messages kab bhejne hain control karne ke liye, conditional logic add karne ke liye, aur post-webhook actions trigger karne ke liye jaise conversations assign karna ya labels add karna.
Delay ke saath message bhejein
Webhook trigger aur message bhejne ke beech delay add karein. Webhook trigger hone ke baad message bhejne se pehle kitne minutes wait karna hai wo set karein.

Use case: Ek customer meeting book karta hai aur aap scheduled time se 30 minutes pehle reminder bhejna chahte hain immediately bhejne ki jagah.
Conditions ke basis par message bhejein
Message bhejni chahiye ya nahi control karne ke liye rules add karein. Message tab hi bhejein jab webhook data mein specific conditions meet ho.
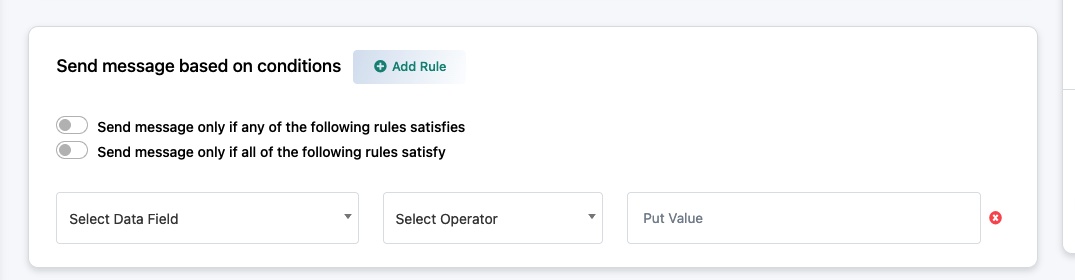
Add Rule — Naya condition banane ke liye click karein.
Logic options:
- Send message only if any of the following rules satisfies — OR logic. Message tab bhejta hai jab kam se kam ek rule match kare.
- Send message only if all of the following rules satisfy — AND logic. Message tab hi bhejta hai jab har rule match kare.
Har rule ke teen parts hain:
- Select Data Field — Webhook response se ek field choose karein
- Select Operator — Comparison choose karein (equals, contains, greater than, etc.)
- Put Value — Jis value se compare karna hai
Use case: WhatsApp message tab hi bhejein jab booking type "consultation" ho aur internal meetings ke liye nahi.
Successful Webhook Call ke baad Actions
Jab ek message successfully bhej di jaye, aap additional actions automatically trigger kar sakte hain.
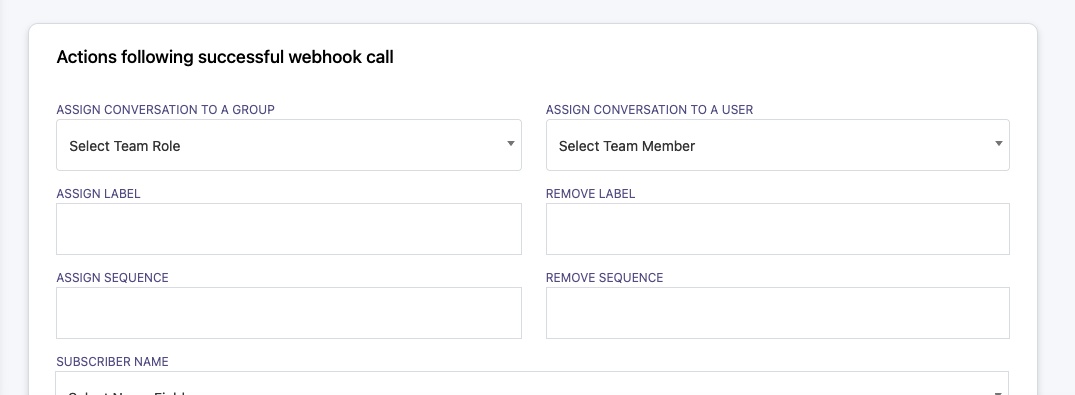
Available actions:
- Assign Conversation to a Group — Conversation ko specific team ko route karein (jaise Sales, Support)
- Assign Conversation to a User — Specific team member ko assign karein
- Assign Label / Remove Label — Subscriber ko segmentation aur filtering ke liye tag karein
- Assign Sequence / Remove Sequence — Subscriber ko message sequence mein add ya remove karein
- Subscriber Name — Webhook data se subscriber ka naam set karein
Use case: Ek naya lead form bharta hai → webhook WhatsApp welcome message bhejta hai → conversation automatically Sales team ko assign ho jata hai "New Lead" label ke saath.
Related Articles
Create a Webhook Workflow — Full setup guide
Webhook Workflow Reporting — Delivery stats monitor karein