Meta mein Product Catalog Create Karein
Meta Commerce Manager mein product catalog create karne ki step-by-step guide
Updated 9 February 2026
Video: https://www.youtube.com/watch?v=6DxL6xskm9Q
WhatsApp mein product catalogs Meta ke andar create karna zaruri hai. Yeh guide aapko Meta Commerce Manager mein catalog create karne aur apne products add karne ke through le jati hai.
Step 1: Meta Business Suite Catalogs Kholein
- business.facebook.com par jayein
- Settings > Data Sources > Catalogs par navigate karein
- Aapko koi bhi existing catalogs ki list dikhegi
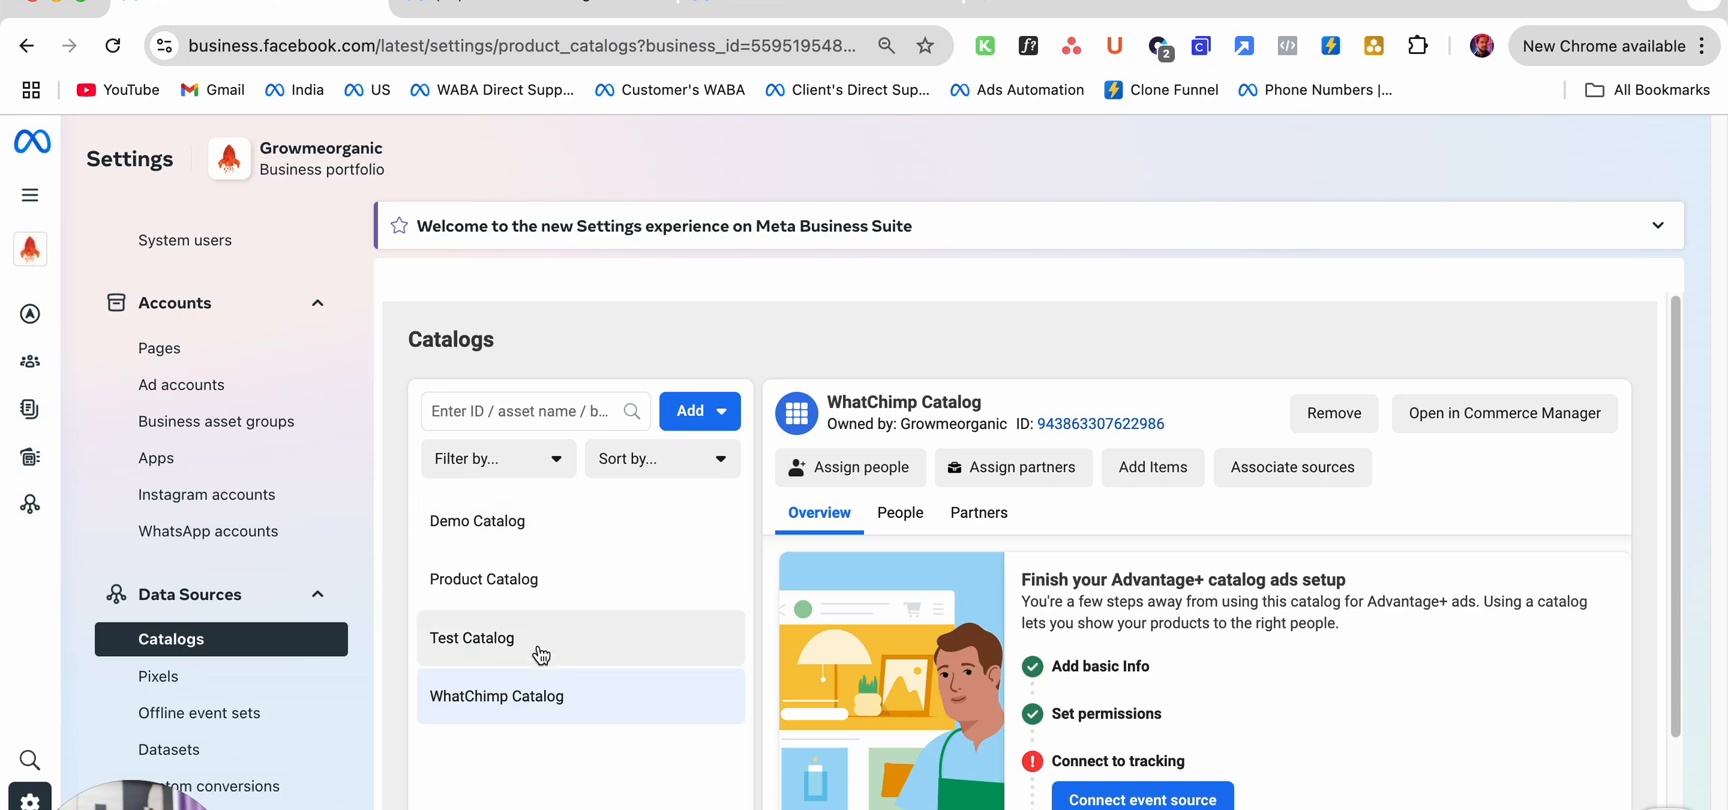
Shuru karne ke liye Create Catalog (ya Add agar aapke paas abhi koi nahi hai) par click karein.
Step 2: Catalog Type Choose Karein
WhatsApp par products bechne ke liye Online products select karein.
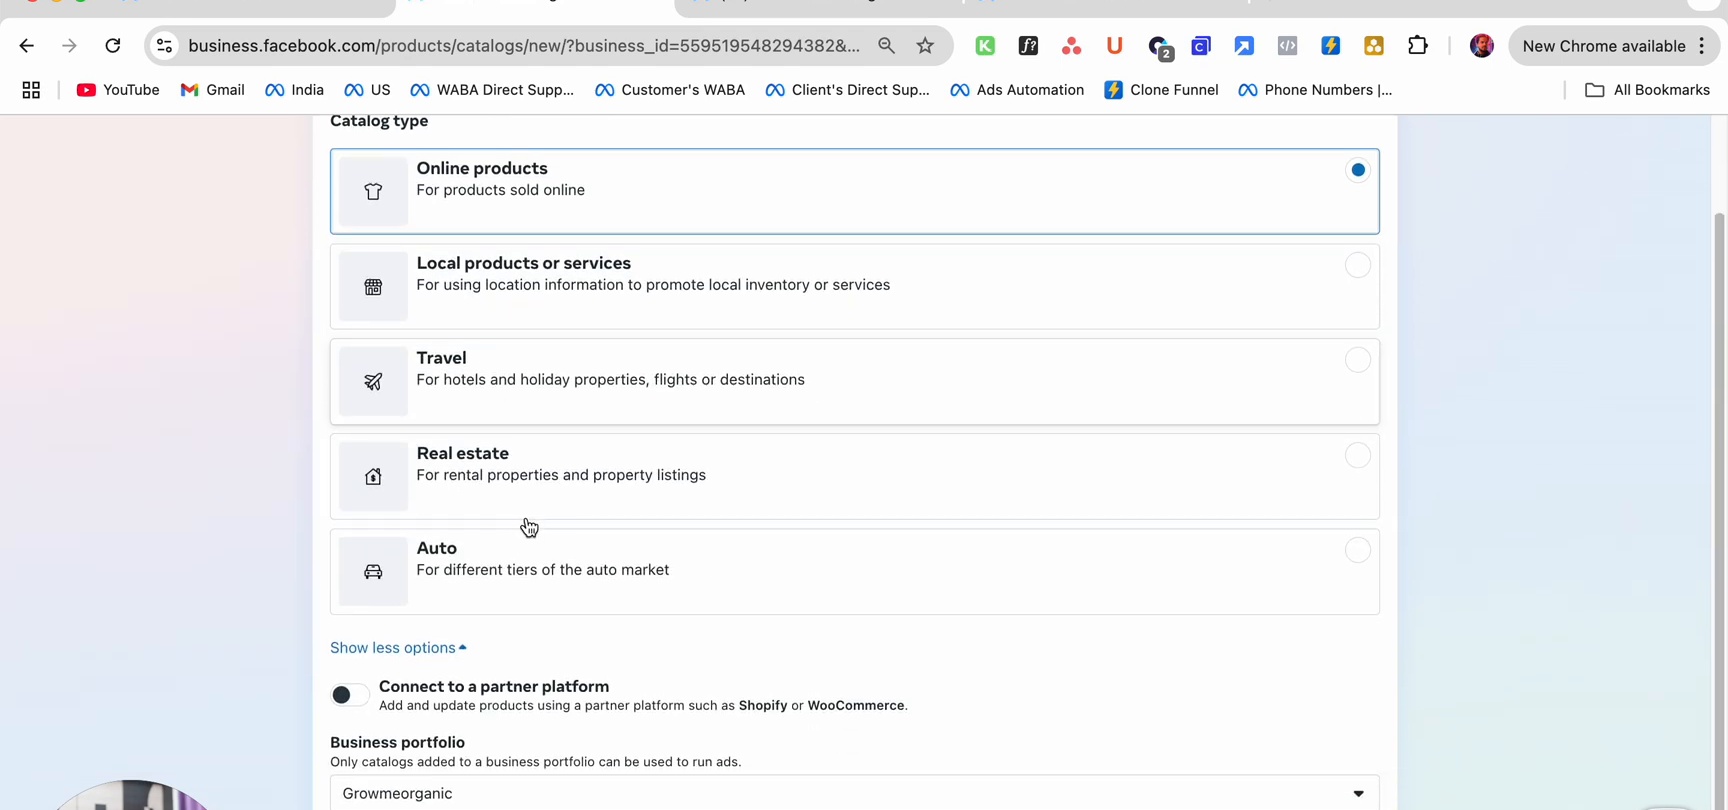
Available types hain:
| Type | Use Case |
|---|---|
| Online products | Online bechhe jane wale products (WhatsApp ke liye iska use karein) |
| Local products or services | Physical stores with location-based inventory |
| Travel | Hotels, flights, destinations |
| Real estate | Rental aur property listings |
| Auto | Vehicle listings |
Partner platforms: Agar aap Shopify ya WooCommerce use karte hain, toh Connect to a partner platform select karein. Aapke products aapke store se automatically sync ho jayenge.
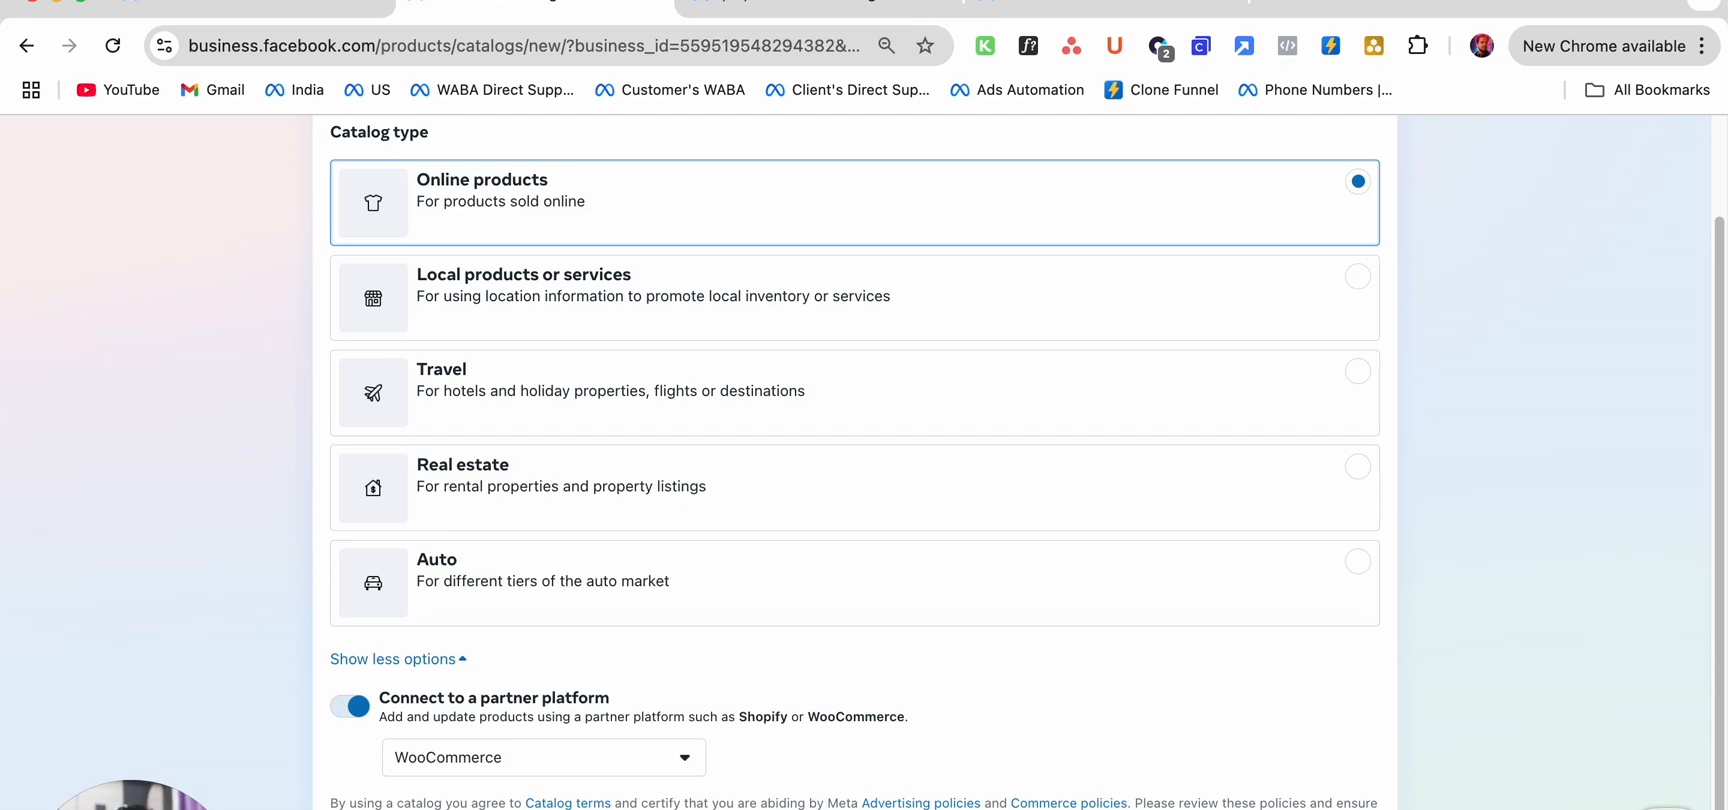
Step 3: Apni Catalog Ko Naam Dein
Apni catalog ke liye naam enter karein aur apna Business portfolio select karein. Phir Create catalog par click karein.
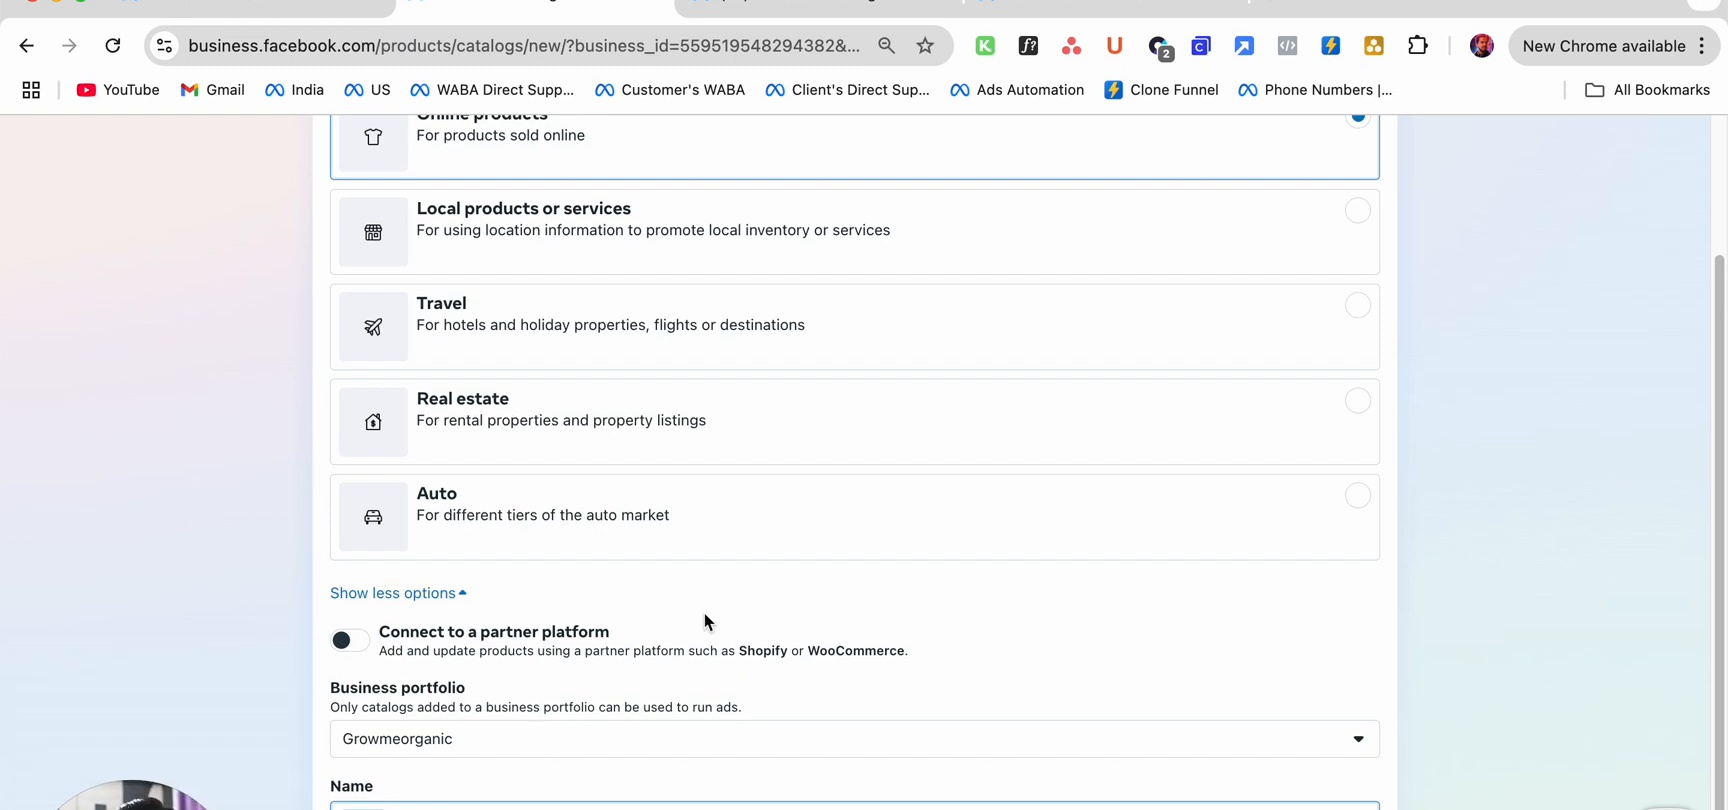
Step 4: Products Add Karein
Catalog create karne ke baad, aapse products add karne ke liye kaha jayega. Teen methods hain:
Method 1: CSV ya Spreadsheet Upload Karein
Meta se template download karein, apne product details (name, description, price, image URL, etc.) fill karein, aur ise upload karein.
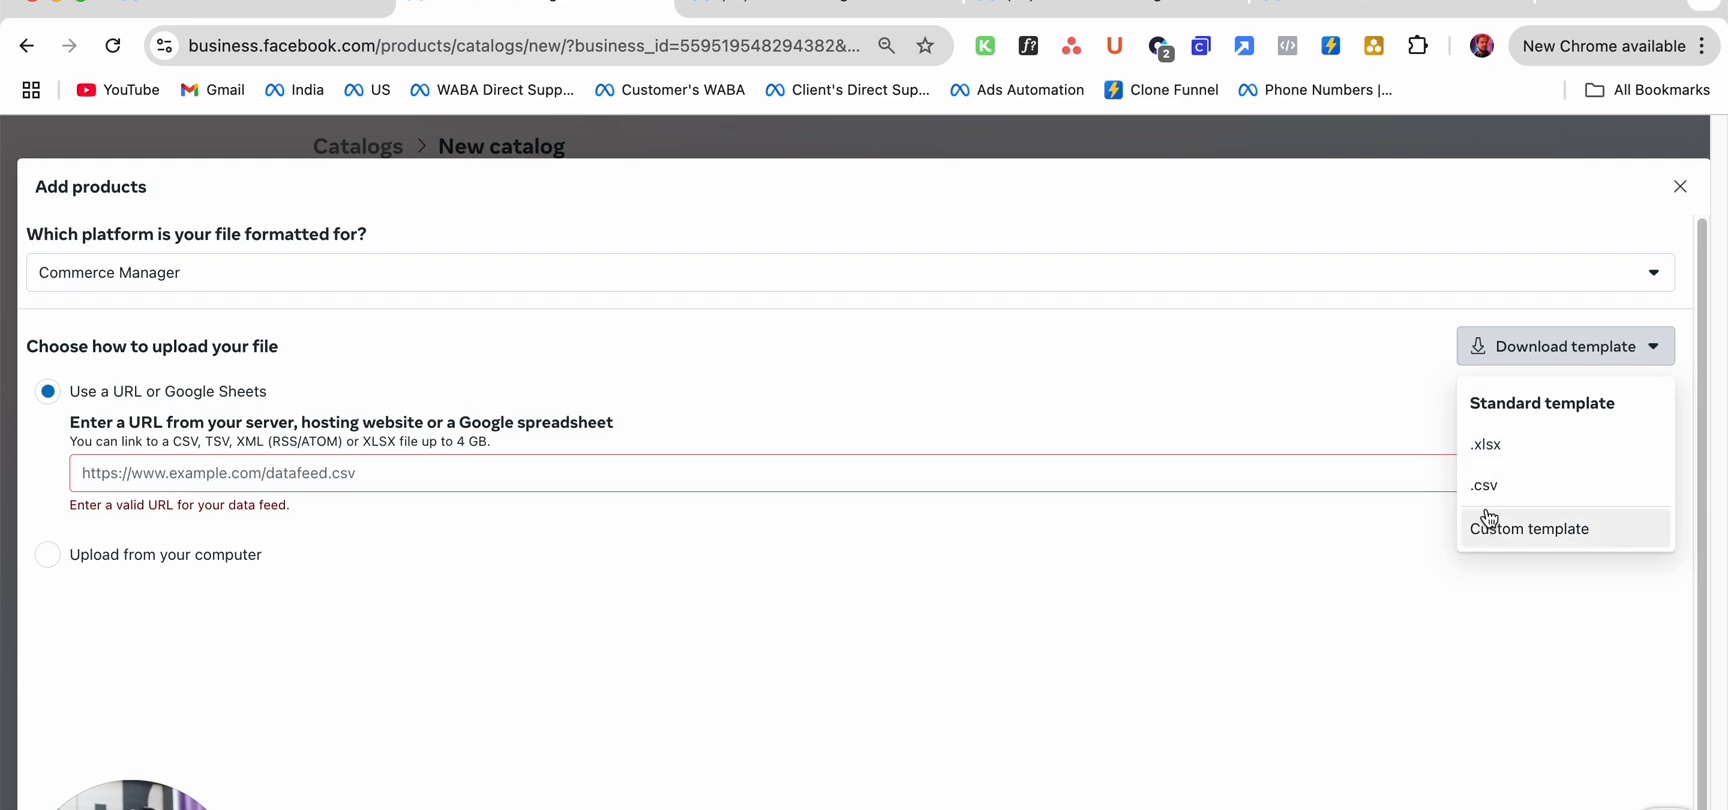
Aap upload kar sakte hain:
- Apne computer par file se (CSV, TSV, XML)
- Apne product feed ke URL se
- Google Spreadsheet link se
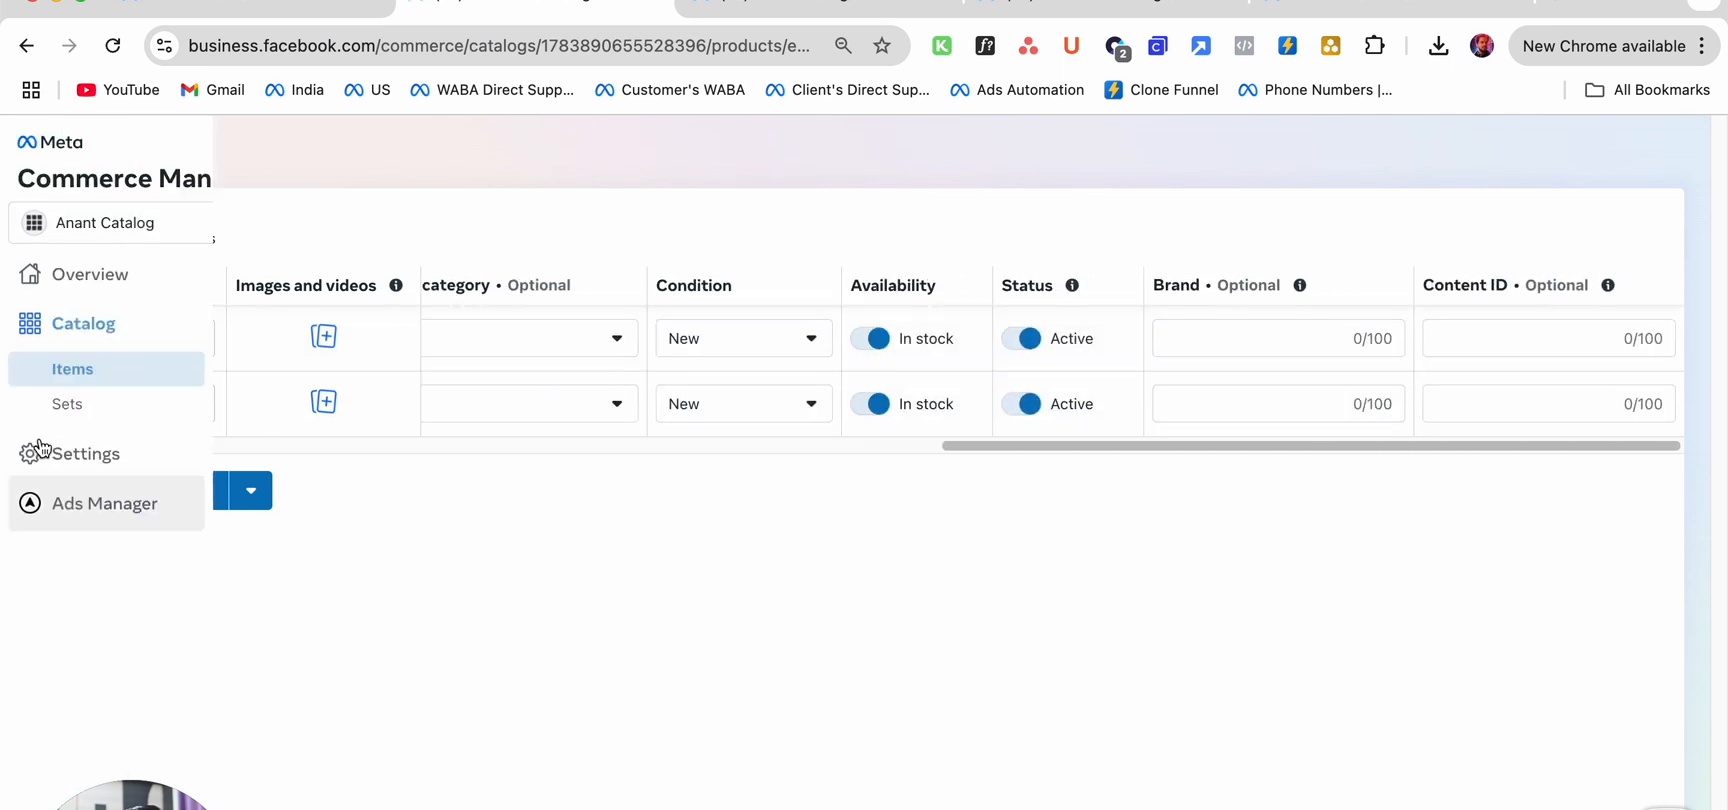
Method 2: Products Manually Add Karein
Commerce Manager mein, Catalog > Items par jayein aur Add products > Manual par click karein. Har product ki details ek ek karke fill karein.
Method 3: Partner Platform Connect Karein
Agar aapne catalog creation ke time Shopify ya WooCommerce select kiya tha, toh aapke products automatically aapke online store se sync ho jayenge. Aap apne store mein jo bhi changes karenge wo catalog mein reflect honge.
Apne Products Manage Karein
Ek baar products add ho jane ke baad, aap unhe Commerce Manager > Catalog > Items mein manage kar sakte hain.
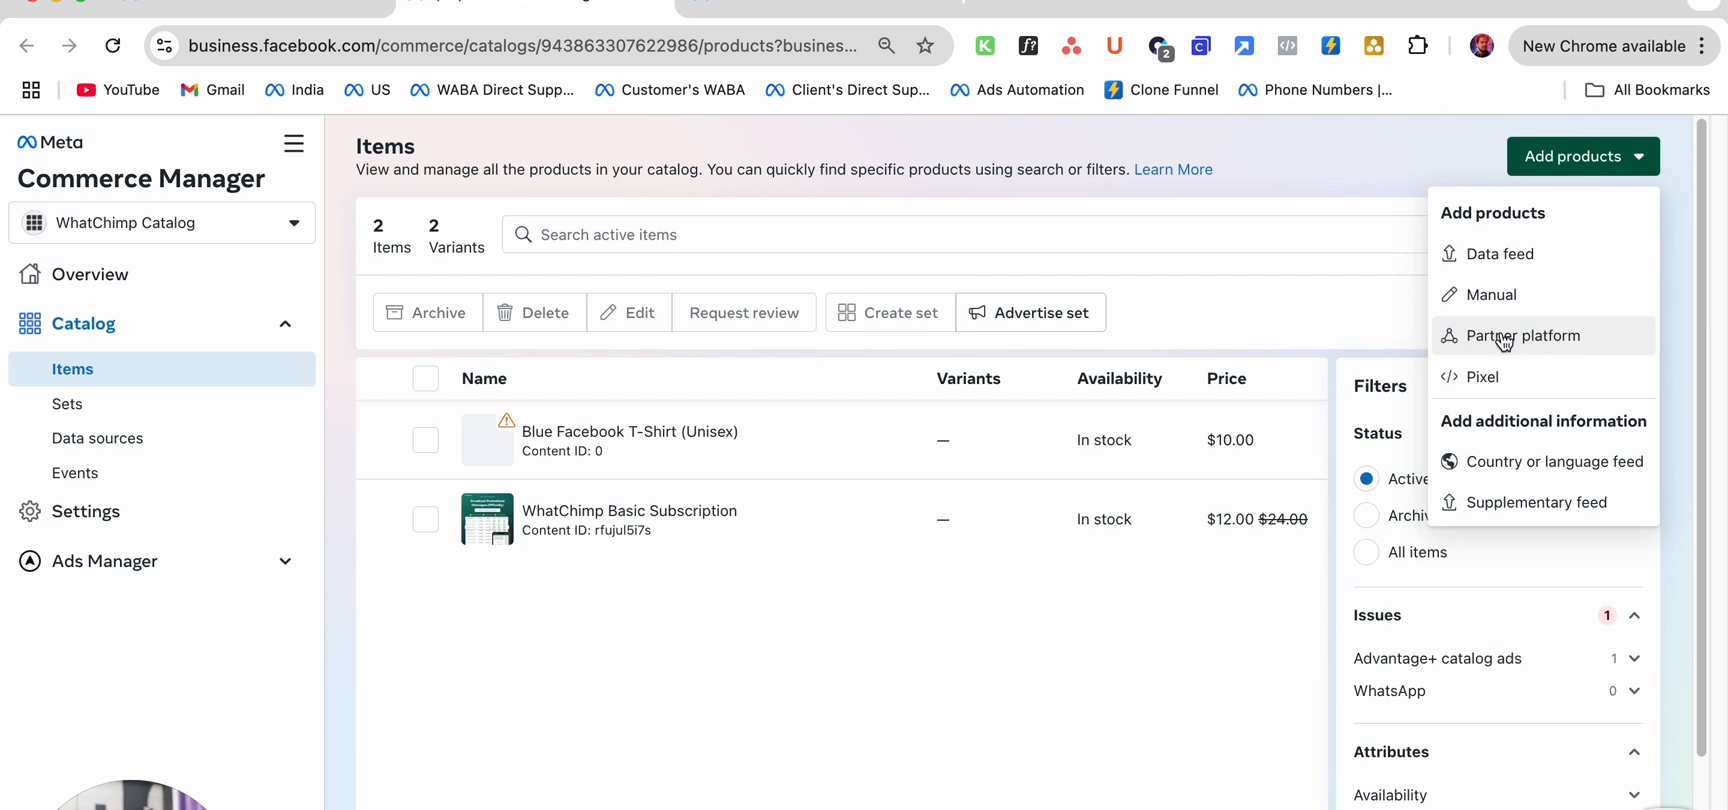
Kisi bhi product par click karein uski details dekhne, information edit karne, variants manage karne, ya uski status check karne ke liye.
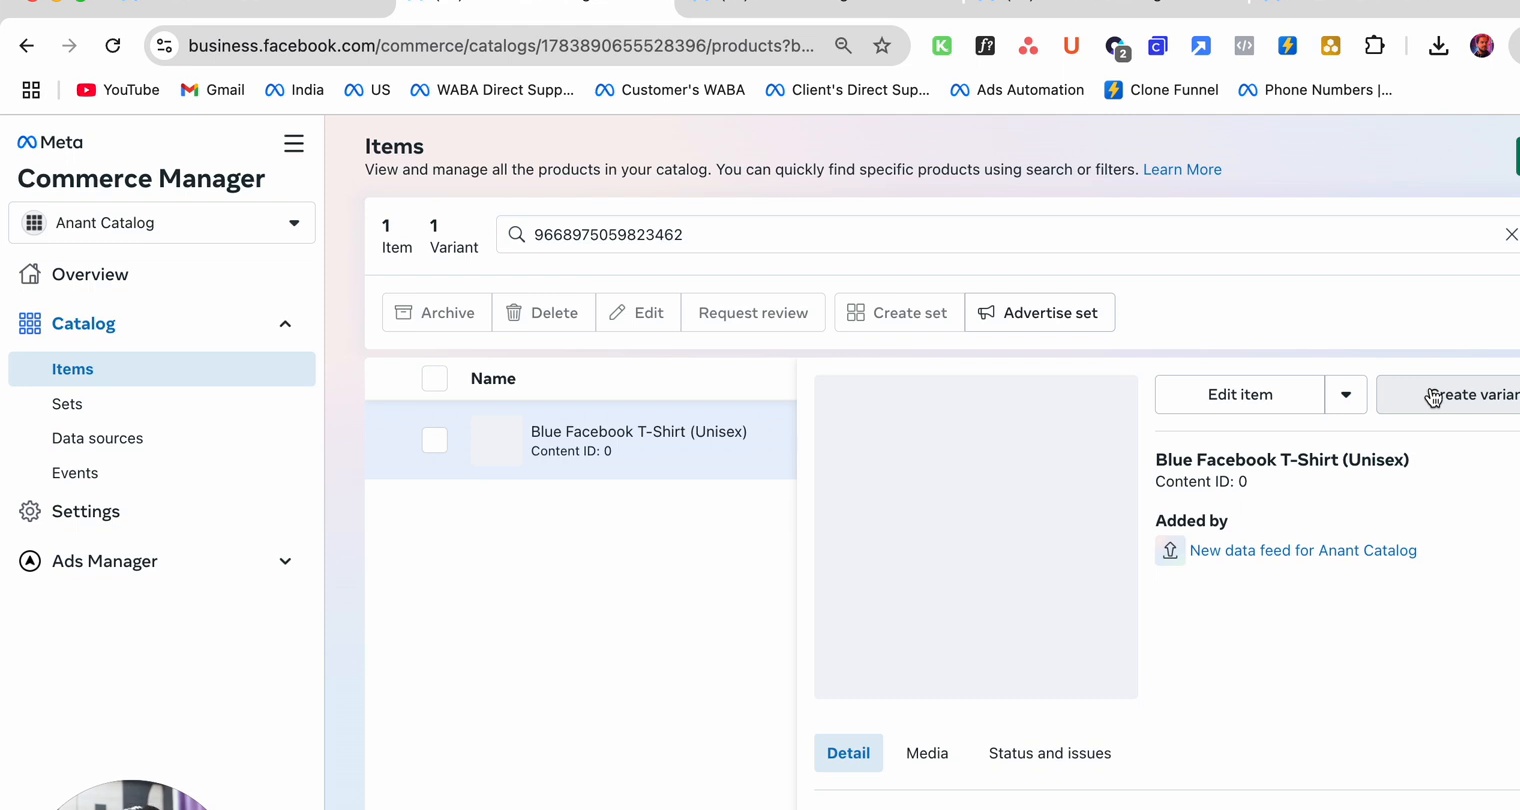
Items page se aap kar sakte hain:
- Product details Edit karna (name, price, description, images)
- Products ko Archive ya Delete karna
- Products ko categories mein group karne ke liye sets create karna
- Agar koi product reject ho gaya ho toh review request karna
Agle Steps
- Apne Catalog ko WhatsApp ke Saath Connect Karein — Is catalog ko WhatChimp ke through apne WhatsApp number se link karein