How to Add and Manage Team Members
Add users, assign roles, control bot access, and export team data
Updated 10 February 2026
The User Manager page lets you add team members, assign them roles, and control which WhatsApp numbers and Meta pages they can access.
Go to: Sidebar > User Manager

Add a Team Member
- Click Create at the top of the page.
- Fill in Full Name, Email (used to log in), and Password.
- Select a Team Role from the dropdown. Create roles first in User Permission.
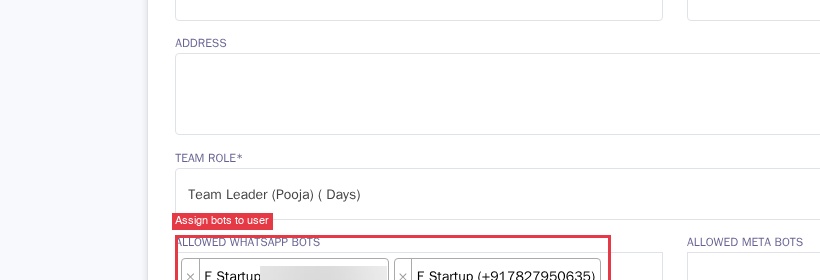
- Under Allowed WhatsApp Bots, select which WhatsApp numbers this user can access.
- Under Allowed Meta Bots, assign Facebook or Instagram pages (optional).
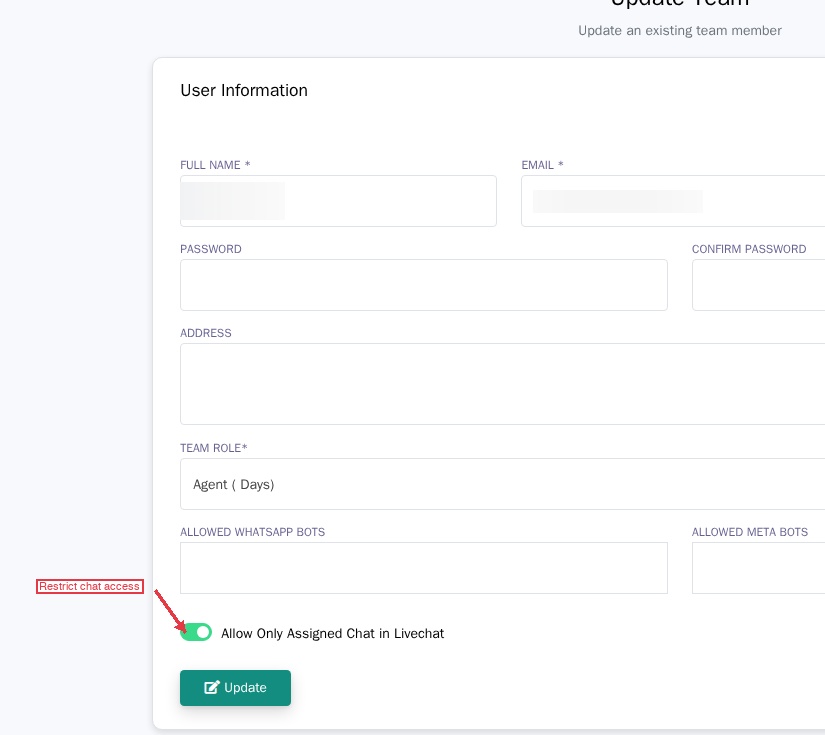
- Enable Allow Only Assigned Chat in Livechat so the user only sees chats assigned to them (recommended for agents).
- Click Update to save.
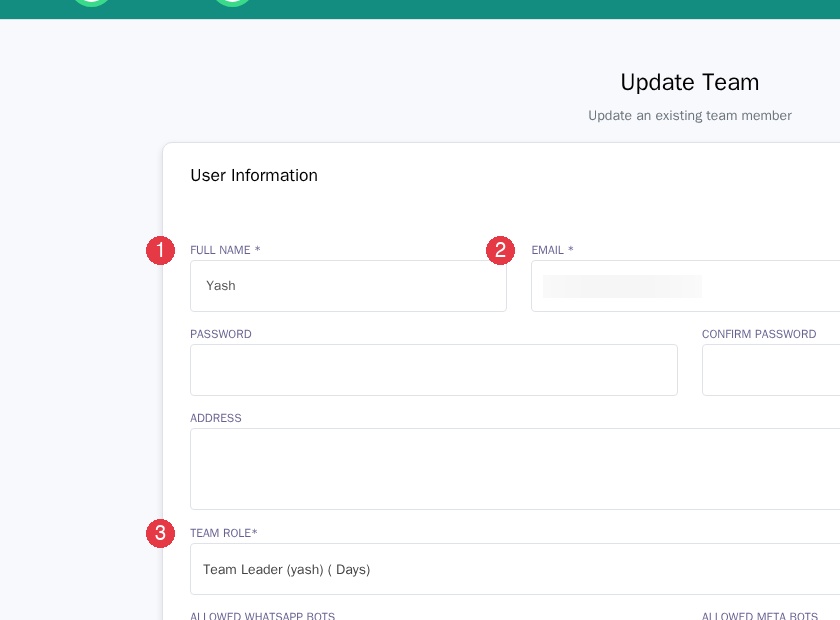
To edit a team member later, click the pencil icon in their row.
Assign WhatsApp Numbers & Meta Pages
Each team member can be assigned to one or more WhatsApp numbers. This controls which numbers they see and manage.
- A Team Leader might have access to all WhatsApp numbers on the account.
- An Agent might only have access to one.
Use Allowed Meta Bots the same way to assign Facebook pages and Instagram pages.
Restrict Live Chat Access
Enable Allow Only Assigned Chat in Livechat so agents only see conversations assigned to them — not all incoming chats.
Activate, Deactivate, or Delete
| Action | How |
|---|---|
| Activate / Deactivate | Toggle the Status switch in the user's row. Green = active, grey = inactive. |
| Delete | Click the trash icon in the Actions column. This is permanent. |
Tip: To temporarily revoke access, deactivate the user instead of deleting them.
Filter, Search & Export
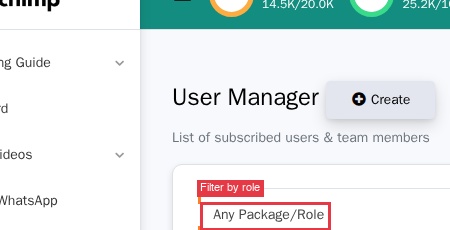
Use the dropdowns at the top of the table to filter by Role or Status (Active, Inactive, Expired, etc.). Type in the Search box to find users by name or email.
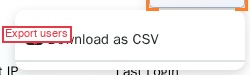
To export your user list, click Options > Download as CSV.